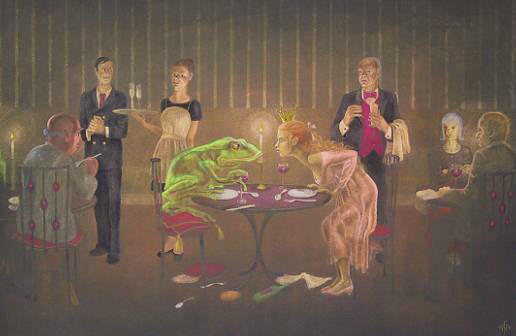
Dinner for Two: stage-by-stage photos.
Scroll down to see the full sequence.
This painting can be seen larger in the gallery. It's a fairly old painting and I've refined this way of working quite a lot, but what I do is still largely the same. The Tattooed Fairy sequence is more typical of my smaller, very detailed paintings.
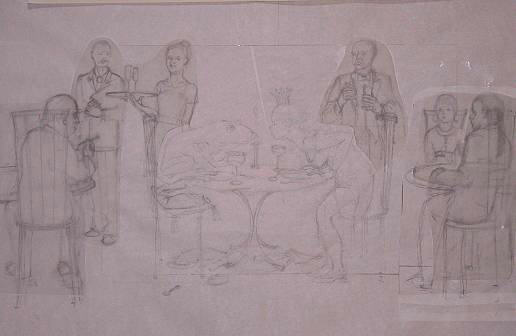
Original drawing. A lot of the additional figures are on tracing paper - this way I can sketch them in approximately the right place and adjust everything later.
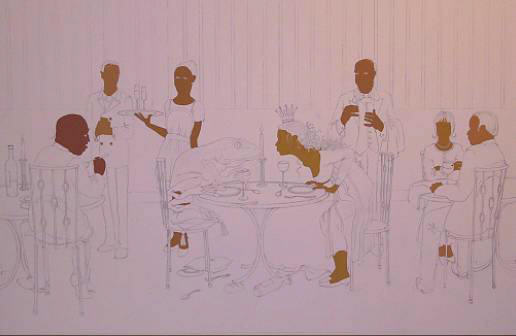
Drawing transferred to stretched watercolour paper (hot-pressed paper 140 lb weight). And the first few areas painted. The paint is 'gouache' - similar to watercolour paint, but more opaque.
More painting. At this stage this is really a process of colouring-in with an appropriate colour.
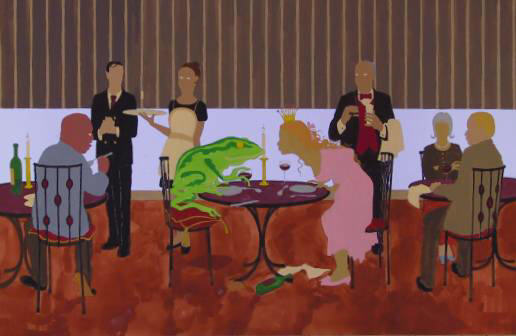
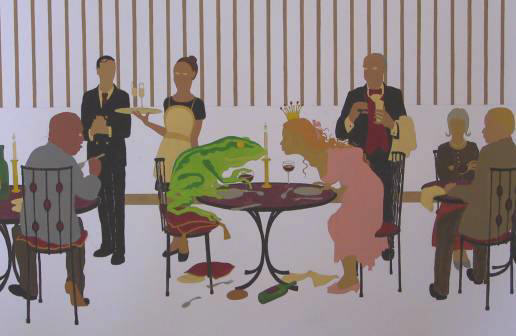
Finished colouring-in, the last section of wall will be the same as the background colour.
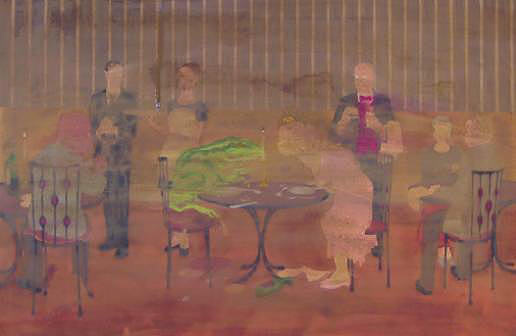
This is the scary bit.

A series of layers of paint cover the original painting. Usually I wet the whole surface first, add a layer of paint, dry the whole thing with a couple of hairdryers and repeat the process until I get what I want. Its also possible to paint over the dry painting, but wetting the surface allows me to achieve a fairly even graduation of colour.
This is about right. In this case there will not be much of this top paint layer left by the end - otherwise I would have worked a bit more to get it less streaky.
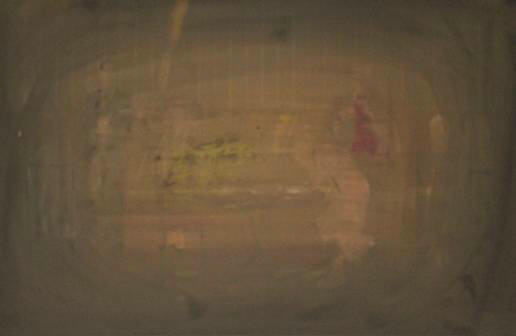
This is the fun bit. By a process of wetting and blotting the paint using progressively harder textured brushes the paint can be lifted to reveal the colour beneath.
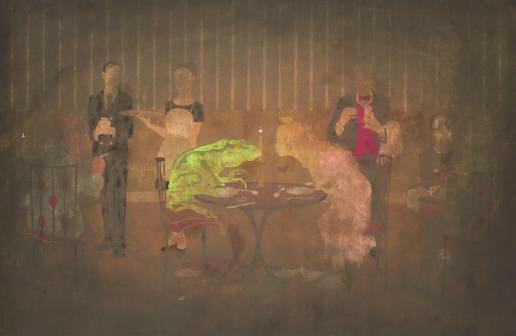
The paper is stained by the first colour that is put on it - so to a large extent the original paint layer remains, although some colours stain far more than others.
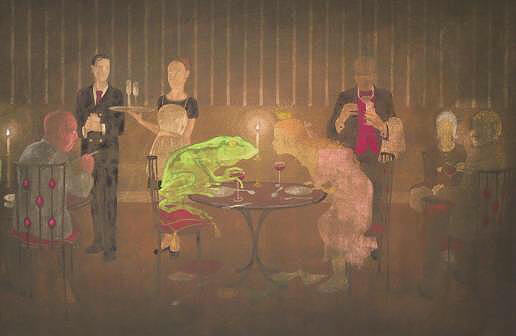
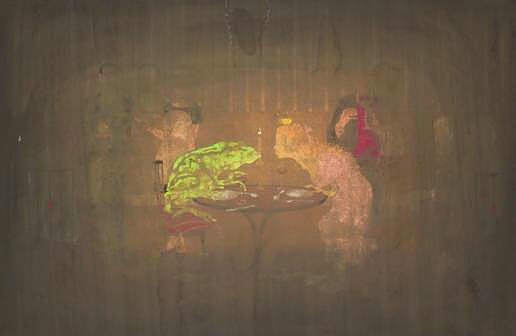
Most of the unpainting is finished here, especially on the left hand side.
Some final shading, details of faces etc., painted last of all. The colours are a little different here compared to the completely finished image in the gallery - this is because this series was taken using flash photography instead of scanning the image like I usually do.